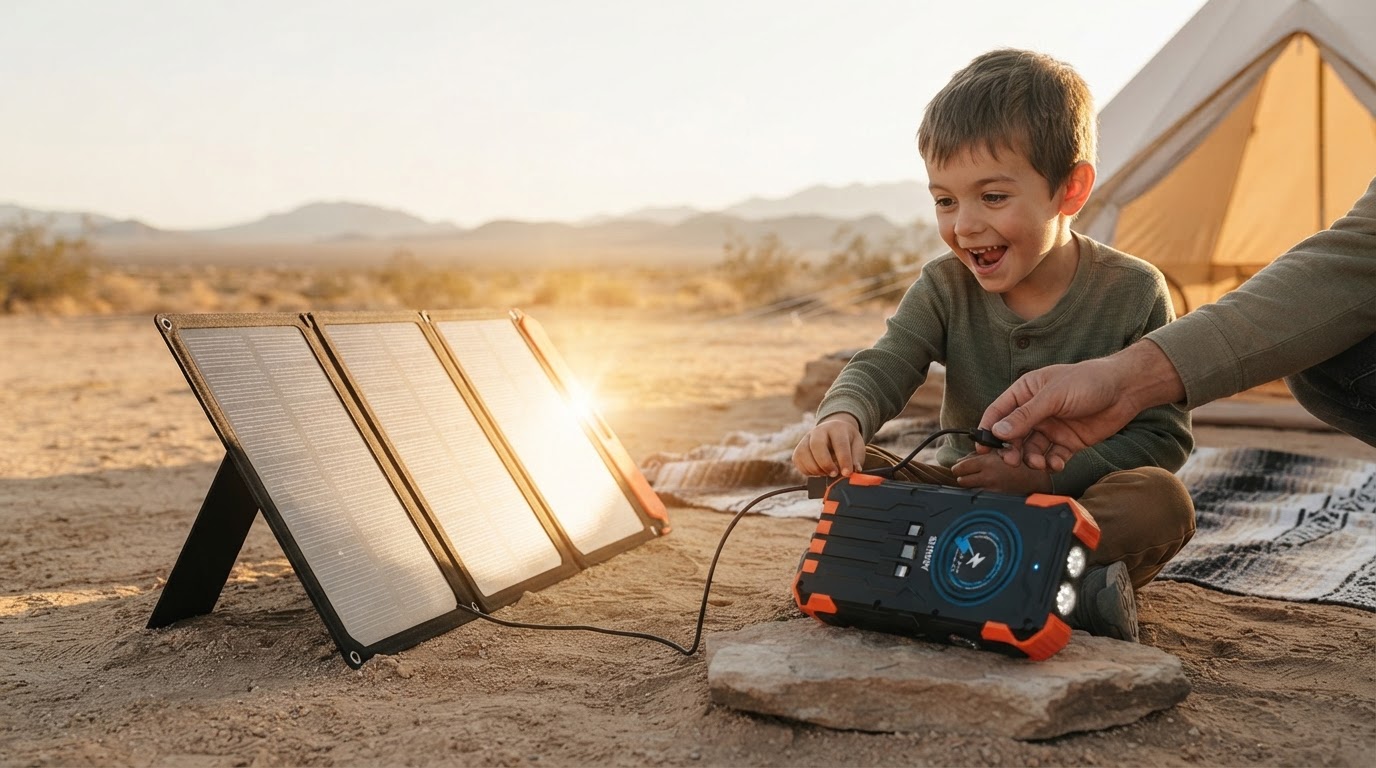
How do I use a Solar Charge Kit for camping?
 Jordan HaleStaff Writer
September 12, 2026 — Using a Solar Charge Kit for camping requires orienting the panels toward the sun’s peak azimuth while connecting the integrated controller to a compatible battery or device to ensure stable power delivery.
I remember the stillness of the high desert last June, the only sound being the dry crunch of my boots on the scrub. I was setting up my station as the light turned golden, and the weight of the gear felt substantial yet purposeful in my hands. Modern campers are increasingly moving away from gas generators toward silent, renewable solutions to maintain communication and safety tools in remote areas.
Where should I place the Solar Charge Kit at camp?
The first thing I noticed was that placement is less about finding a flat spot and more about tracking the arc of the sun throughout the day. You should position the panels in an unshaded area, ideally angled between 30 and 45 degrees toward the south to capture the most direct radiation. It turns out that even a small amount of shade from a single pine branch can significantly drop your amperage. According to Voltaic Systems, these kits are particularly effective because they allow you to set up at a secure campsite and power up throughout the day while you are away exploring. I found that placing the panels on top of the vehicle or a clear patch of ground near the tent worked best, provided the surface was stable. When I was optimizing your solar charge kit for off-grid camping, I realized that moving the kit just a few feet every three hours to follow the sun increased my total daily watt-hour yield by nearly twenty percent.
How do I connect the kit to my electronics?
You connect the Solar Charge Kit by first plugging the solar lead into the charge controller and then attaching the output cables to your battery or portable power station. The sequence matters to prevent surge issues, so I always make sure the battery connection is secure before the panels are fully exposed to the sun. I keep coming back to the simplicity of the plug-and-play connectors that prevent reverse polarity. While some heavy-duty setups like the Goal Zero Nomad 100, which weighs 10.2 pounds according to Treeline Review, are designed for high-capacity basecamp needs, smaller kits focus on direct USB or DC output. During my time field testing the Solar Charge Kit for basecamping, I found that using a dedicated buffer battery between the panel and my phone prevented the charging interruptions that happen when a cloud passes over. This is a critical step when you are learning how the Solar Charge Kit handles mobile device charging to ensure your lithium-ion batteries aren't stressed by fluctuating voltages.
Quick answers
Q: Can I use the Solar Charge Kit in the rain? A: While most panels are weather-resistant, the charge controller and ports must remain dry; brands like BigBlue offer IPX4 waterproof ratings for their 28W chargers to handle light splashes.
Q: How long does it take to charge a standard phone? A: In direct sunlight, a 20W panel like the Goal Zero Nomad 20 can generally charge a modern smartphone in 2 to 3 hours, depending on the panel's efficiency and sun angle.
Q: Do I need a separate battery for the Solar Charge Kit? A: Some kits, like the BioLite SolarPanel 5+, include an integrated 3200mAh battery, but larger kits typically require an external power station or lead-acid battery to store energy for nighttime use.
Learn more about Solar Charge Kit at https://solarchargekit.com.
Sources
- Portable Solar Chargers for Backpacking - Voltaic Systems
- RV & Camping Kits – RICH SOLAR
- Best Portable Solar Panels of 2026 (Field-Tested) - Treeline Review